Note: Every action that can be performed in the application is subject to access permissions. If you are unable to perform the recommended actions in the articles you are viewing, it may mean that the necessary permissions are not enabled for your user profile. Contact the Support team or your administrator to learn more.
Note: If, in the Supplier Orders menu, the SUPPLIER INVOICES screen is accessible to you, this is not the guide you should follow: please refer to the article Reconcile a FAR and an FF to identify any discrepancies.
Start from: The Easilys menu.
- Select the tabs Supplier Orders > Invoices.
Note: As soon as an invoice is generated, that is, as soon as the delivery note is validated, you can also go directly to the purchase invoice from a purchase order or a delivery note using the breadcrumb trail.
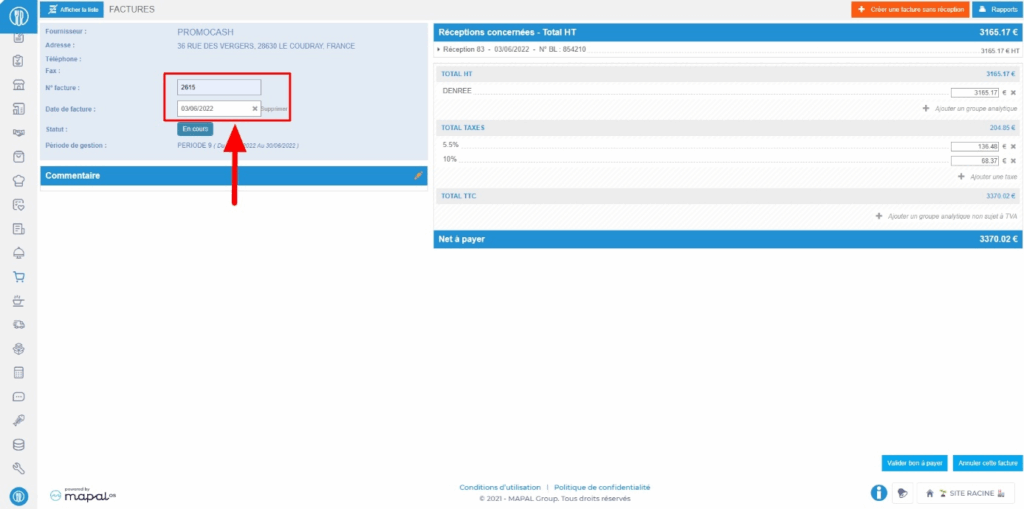
- The invoice number is by default the same as the delivery note number entered when validating the delivery note. You can change it if needed.
- Enter the invoice date so that it matches the received invoice.
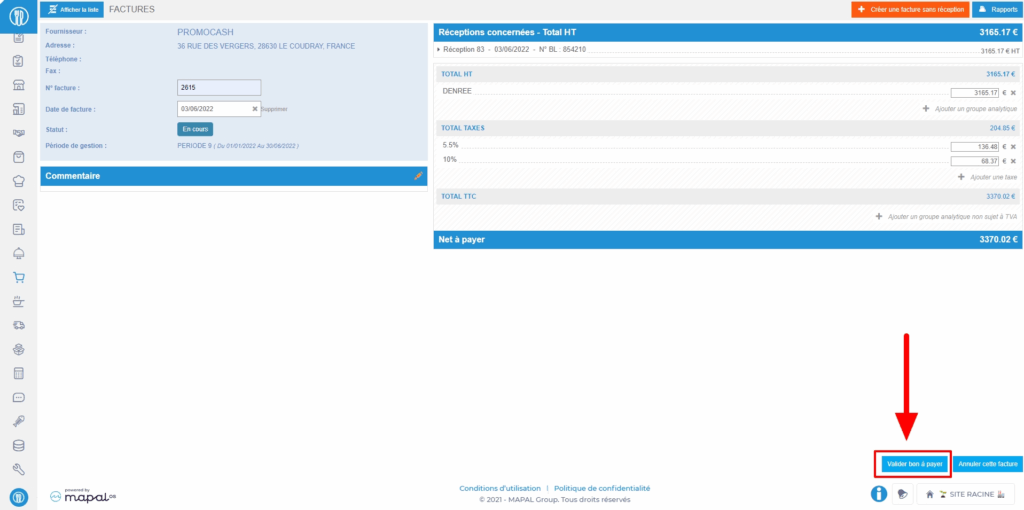
The receipt(s) associated with the invoice are visible and can be viewed in detail by selecting them.
You can edit the net total for each analytical group. You can also add analytical groups that do not appear by default on the invoice.
You can edit the VAT total and add other taxes if needed.
You can add an analytical group not subject to taxes.
- Once the invoice has been checked, you can set the document to "Ready to pay" by selecting Validate ready to pay and then confirming your choice.