Start from: The Easilys menu.
Product and recipe losses can be entered from this screen, either individually or using loss templates. When you report a recipe loss, the industrial products used in the recipe will be deducted from stock during manual validation or the automatic overnight destocking, depending on your settings.
Note: Depending on the type of POS and integration, this screen may also be automatically populated from loss data reported by the till.
1. Add non-template losses
- Select Stock > Known losses and markdowns from the main menu.
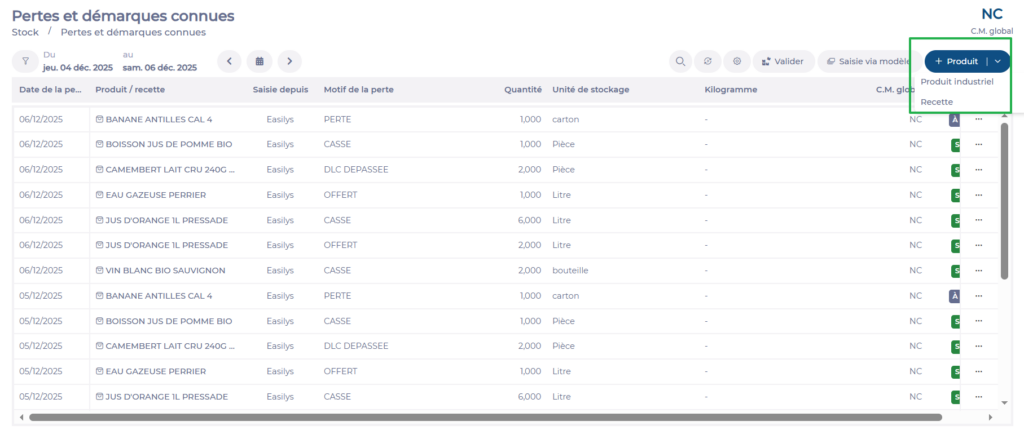
- Select + Product then choose Industrial product or Recipe depending on the type of loss.
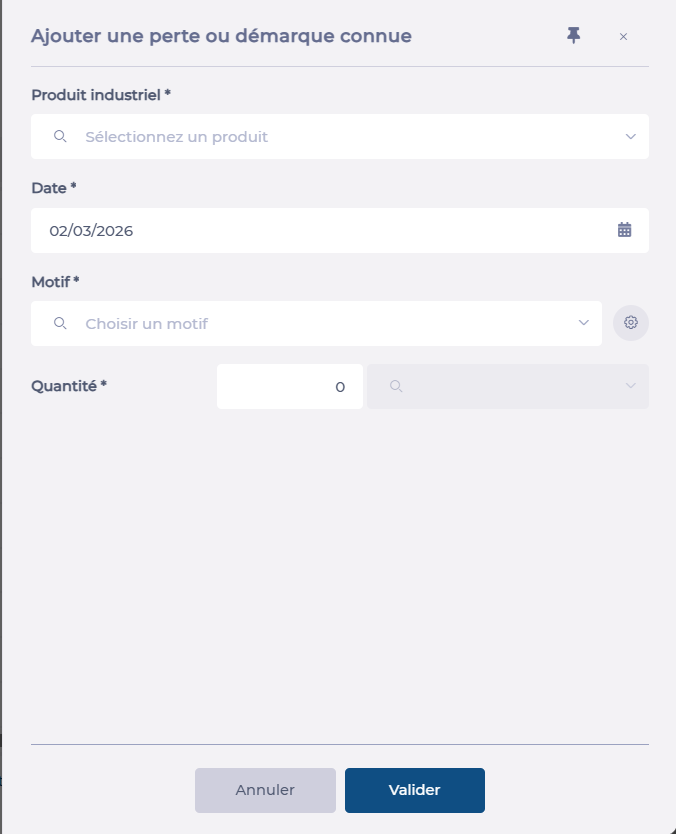
- In the side panel that opens, enter:
- The name of the recipe or product.
- The date of the loss.
- The reason.
- The quantity and unit.
- Select Validate.
Your loss will appear in the list with the status To be deducted. The corresponding products will be removed from stock overnight or by manual validation (see section 3).
2. Enter losses using templates
Using templates is useful when you want predefined lists of products that can be declared as losses. To use templates, you must have already created loss templates. If not, refer to the article Create and manage templates for known losses and markdowns.
- Select Stock > Known losses and markdowns from the main menu.
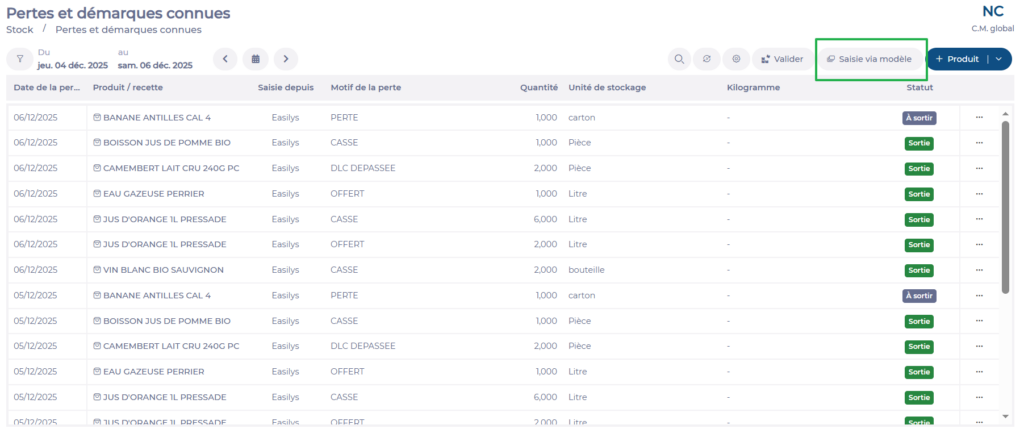
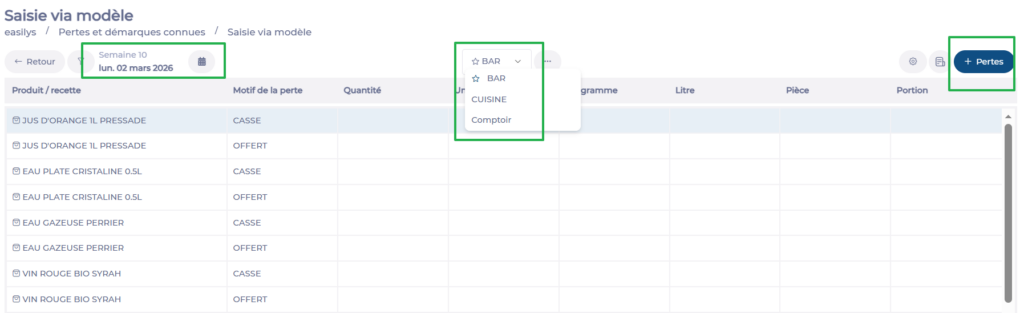
- Select Input via template.
- Select the desired date.
- Choose the loss template you want to use.
- Select + Losses in the top right corner of the screen.
You can now enter the loss quantities for each item in the list, on the relevant reason line.
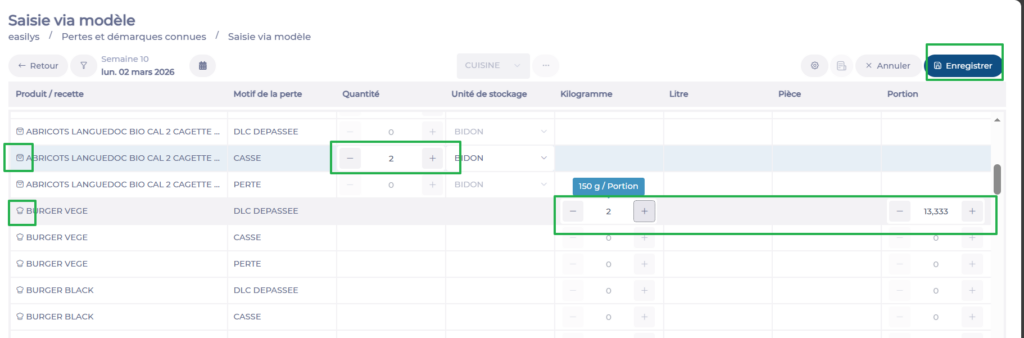
For a product:
- Select the + icon in the Quantity column for the relevant rows.
- You may also choose the storage unit if multiple units are available.
Note: Multiple storage units are available for an industrial product only if it is linked to multiple supplier products. In that case, the choice is given if those supplier products have different storage units.
For a recipe:
- Select the + icon in the column corresponding to the recipe's unit (Kilogram, Portion, etc.).
- Select Save.
Note: If you want to provide your teams with a paper copy showing the item lists per template for manual recording during the day, you can print the loss recording report as explained in the article Use the loss recording report.
To return to the screen listing all losses, select Back. Losses entered via templates will appear with the status To be deducted. The corresponding products will be removed from stock overnight or by manual validation (see section 3).
3. Manually validate losses
Losses with the status To be deducted will be automatically destocked during the following night (if the job is enabled), but they can also be destocked on demand using the Validate button.
To immediately destock losses with the status To be deducted:
- Select Stock > Known losses and markdowns from the main menu.
- Select the desired period using the arrows or the calendar.
- Use the filter and/or the search bar if necessary to display the losses to be destocked.
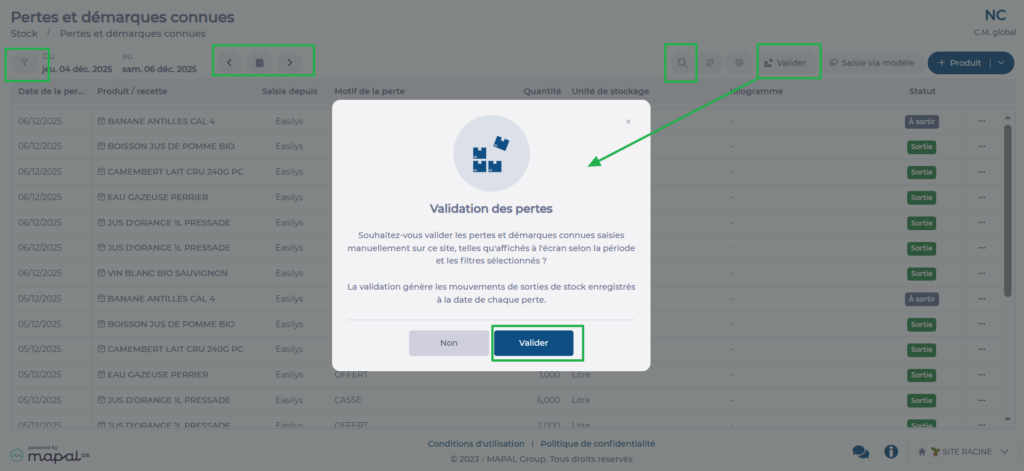
- Select Validate.
- Confirm by selecting Validate again.