Note: Every action in the application is subject to access rights. If you cannot carry out the actions recommended in the articles you consult, the necessary rights may not be enabled for your user profile. Contact the Support team, or your administrator, to find out more.
Start from: The Easilys menu
Create the validation rule
- Navigate to Profile > Site parameters.
- Select the Workflow tab.
- Select Add a rule.
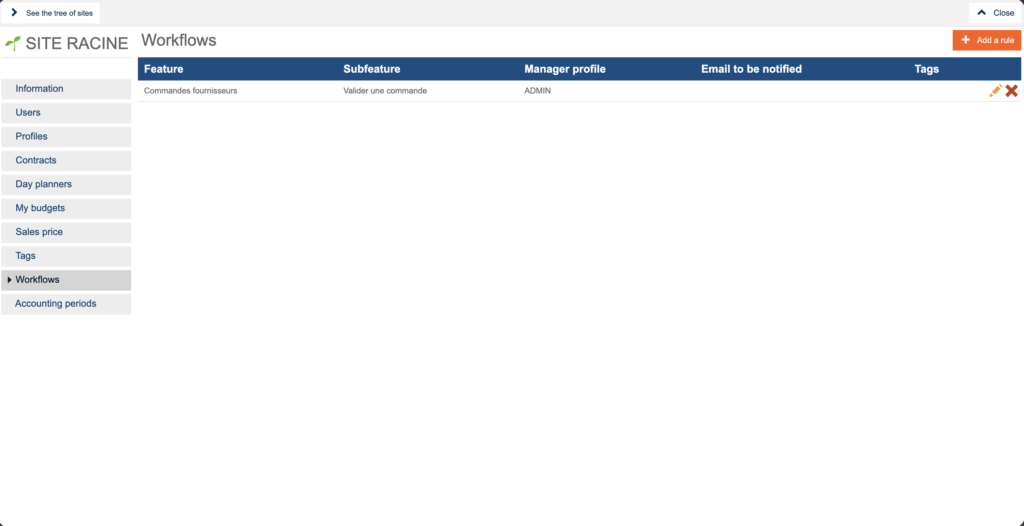
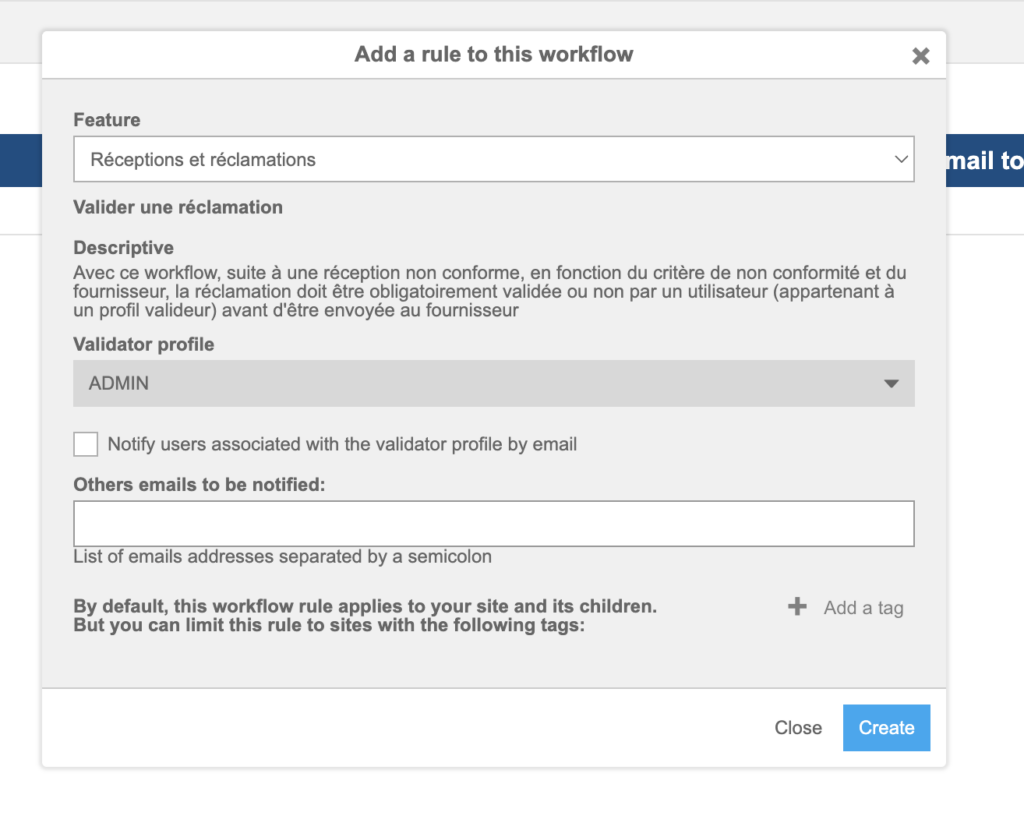
The Add a rule to this workflow window opens.
- Select the Receptions and claims feature.
- Select the Validate a claim sub-feature.
- Select the approver profile.
Note: The approver profile tells the application which users can validate claims before they are sent. All users with the chosen profile can carry out the validation.
- To notify these users whenever a validation is required, select the Notify users with this profile by email checkbox. All accounts with the approver profile are then notified at the email address recorded in their account information.
- To also notify one or more specific addresses, enter them in the Email to notify field and select the checkbox.
Note: Each email address must be separated by a semicolon.
By default, a workflow rule applies to the site on which it is created and to its child sites. You can restrict the rule to certain sites by targeting them with a tag: enter the tags that must appear for the sites concerned. The tags must also have been assigned to the sites concerned, as described below.
Note: If all sites are concerned by claim validation, do not add any tag.
- Select Create.
Specify the suppliers concerned by validation
- Select the Products > Suppliers tabs.
- Select the record of the supplier concerned by validation.
- Select Modify.
- In the Claims section of the supplier record, enable the Activate the claims workflow option.
- Once the option is enabled, you can also enable the Validate all claims option to make validation systematic and mandatory for all claims.
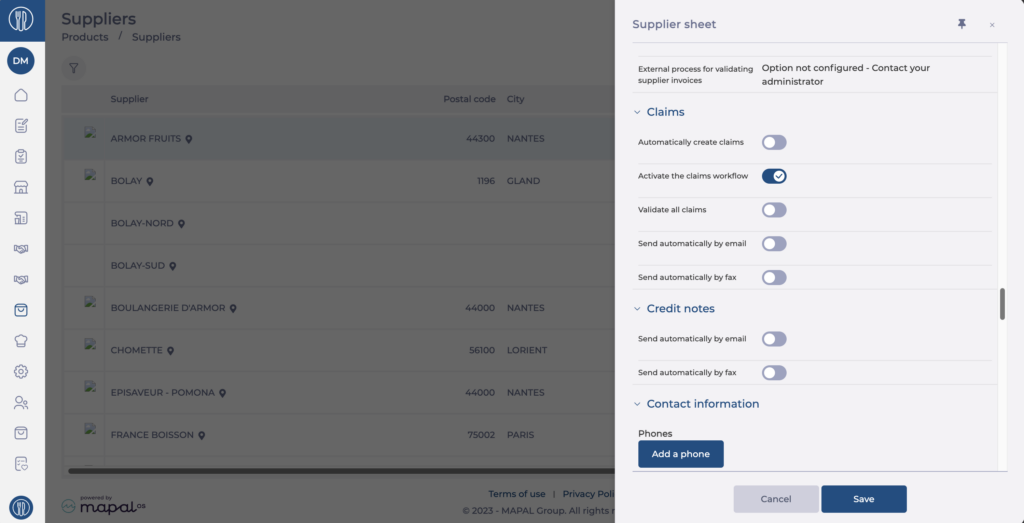
Note: If you do not enable the Validate all claims option, the workflow applies only to non-conformity reasons of the Validation required (workflow)? type. This type is configured in the non-conformity reason settings. For more information, see Manage non-conformity criteria.
- Select Save.
Specify the sites concerned by validation
This section concerns only administrators of several sites. If you manage only one site, that of your own establishment, you can ignore it.
- Go to the Site settings screen by selecting your name in the navigation bar.
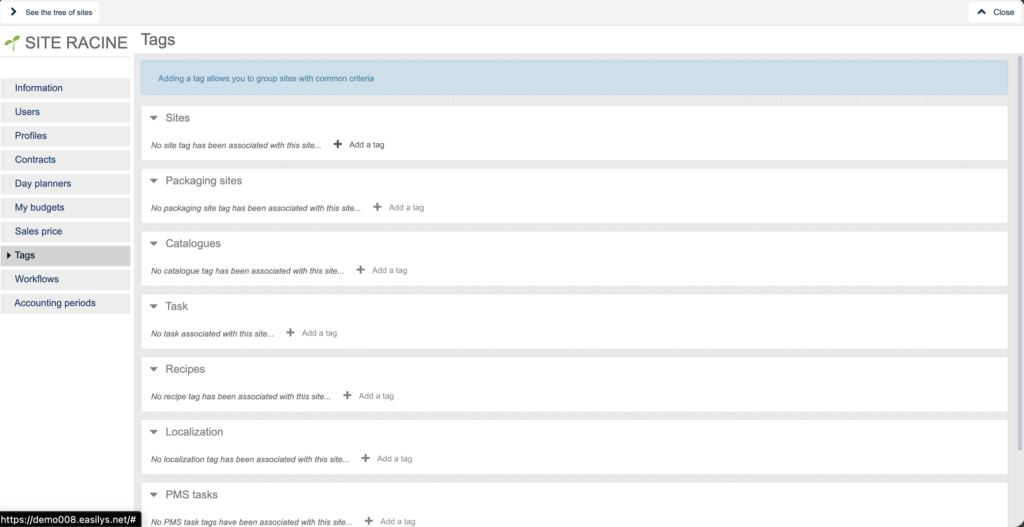
- Select the Tags tab.
- In the Sites section, select + Add a tag.
- Select the tag you want.
Note: If the tag list is empty, you must create one, as described in the article Create a tag.